How to export photos from iphone to pc using itunes
Keep your photos safely stored and up to date on all of your devices
iCloud Photos is the easiest way to keep your entire library safe — even if your device goes missing. If you prefer to sync your photos manually, you can use iTunes to transfer photos and videos from your computer to your iPhone, iPad, and iPod touch.
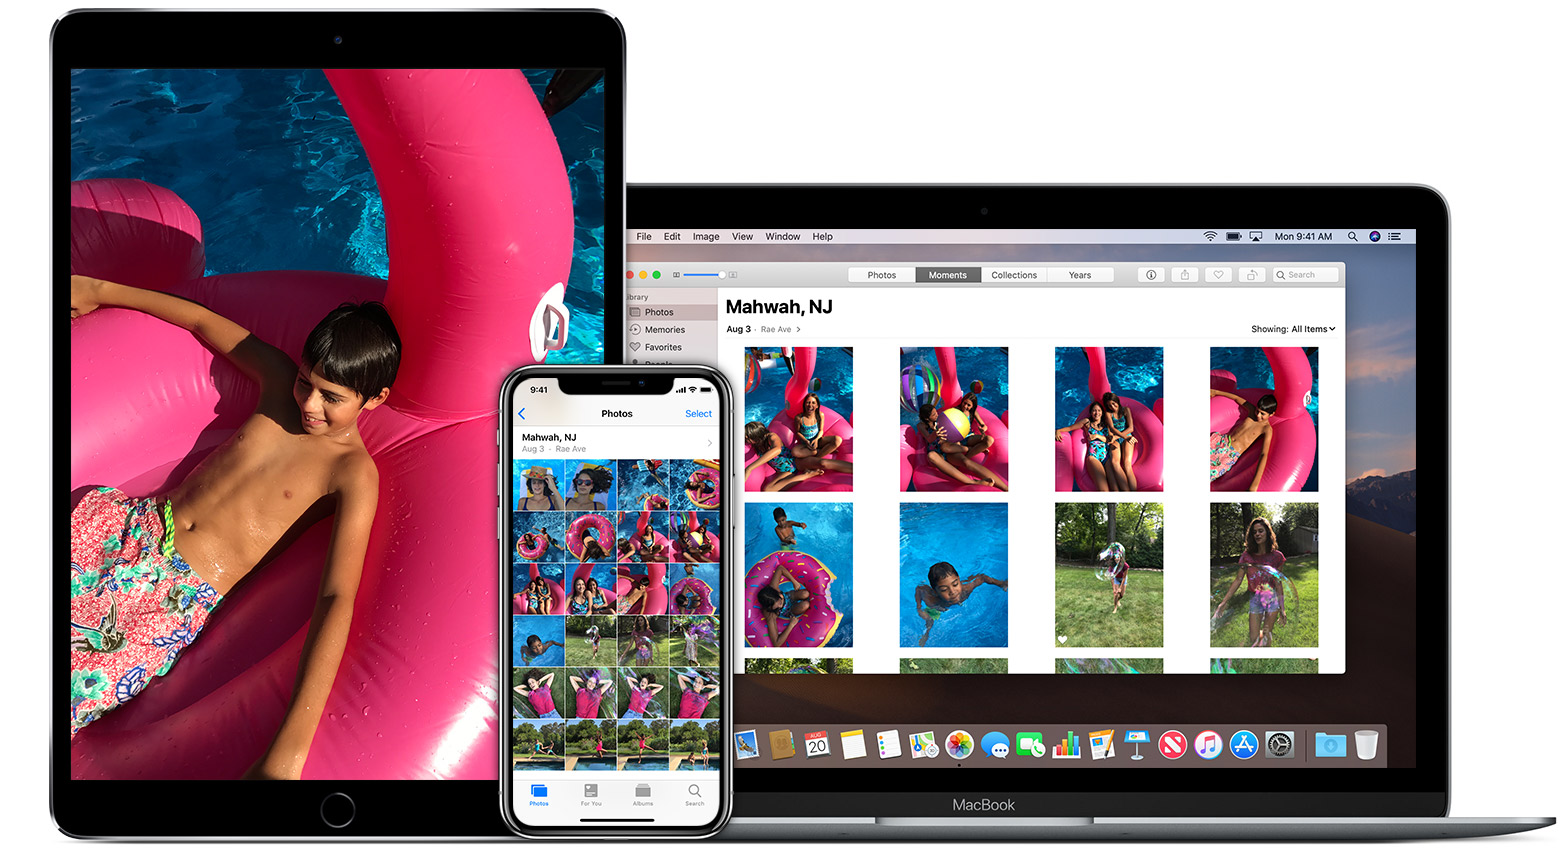
With iCloud Photos, you can access your photos and videos from your iPhone, iPad, iPod touch, Mac, Apple TV, on iCloud.com, and even your Windows PC. When you're connected to the Internet, Wi-Fi, or a cellular network, your newest shots upload automatically and your edits update in real time. So you always see the latest version on your devices and online.

Before you begin
- Update your iPhone, iPad, or iPod touch to the latest version of iOS, your Mac to the latest macOS, and your Apple TV 4K or Apple TV (4th generation) to the latest tvOS.
- Make sure that you’re signed in to iCloud with the same Apple ID on all of your devices.
- Set up iCloud on all of your devices. If you have a PC, download iCloud for Windows.
- Make sure that your device is connected to Wi-Fi.
Turn on iCloud Photos
- On your iPhone, iPad, or iPod touch, go to Settings > [your name] > iCloud > Photos, then turn on iCloud Photos.
- On your Mac, go to System Preferences > iCloud > Options next to Photos, then select iCloud Photos.
- On your Apple TV, go to Settings > Accounts > iCloud > iCloud Photos.
- On your Windows PC, download iCloud for Windows then set up iCloud Photos.
If you have photos synced to your iOS device from iTunes and then turn on iCloud Photos, you'll see "Photos and Videos Synced from iTunes will be Removed." The original versions of the photos and videos will stay on your computer and the copies are removed from your iOS device. When you turn on iCloud Photos on your Mac or PC, your original versions will upload to iCloud and you can access them on all of your devices.
If you choose not to turn on iCloud Photos, you can sync your photos and videos manually in iTunes.
Sync your photos manually with iTunes
You can set up iTunes to sync photos to your iPhone, iPad, or iPod touch from the Photos app, or from a folder on your computer. Each time that you sync your iOS device with iTunes, the photos and videos on your iOS device update to match the albums on your computer. If you have photos on your iPhone, iPad, or iPod touch that aren't on your computer, follow these steps to import them.
- Make sure that you have the latest version of iTunes.
- Open iTunes on your computer.
- Use the included USB cable to connect your iPhone, iPad, or iPod touch to your computer.
- Click on the device icon in iTunes.

- In the sidebar on the left side of the iTunes window, click Photos.
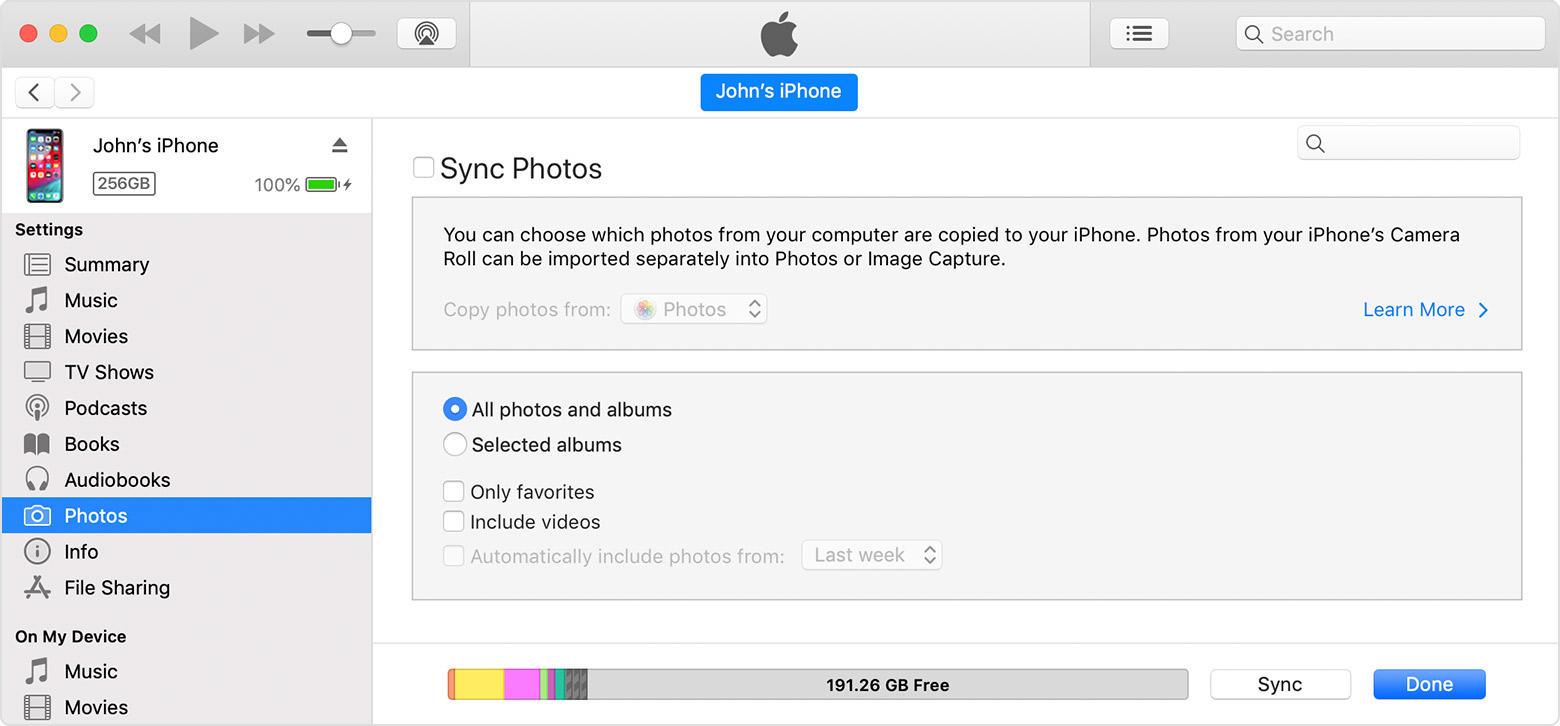
- Click the box next to "Sync Photos." If instead you see "iCloud Photos is On," all of your photos and videos are already on all of your devices that use iCloud Photos. You don't need to sync them through iTunes.
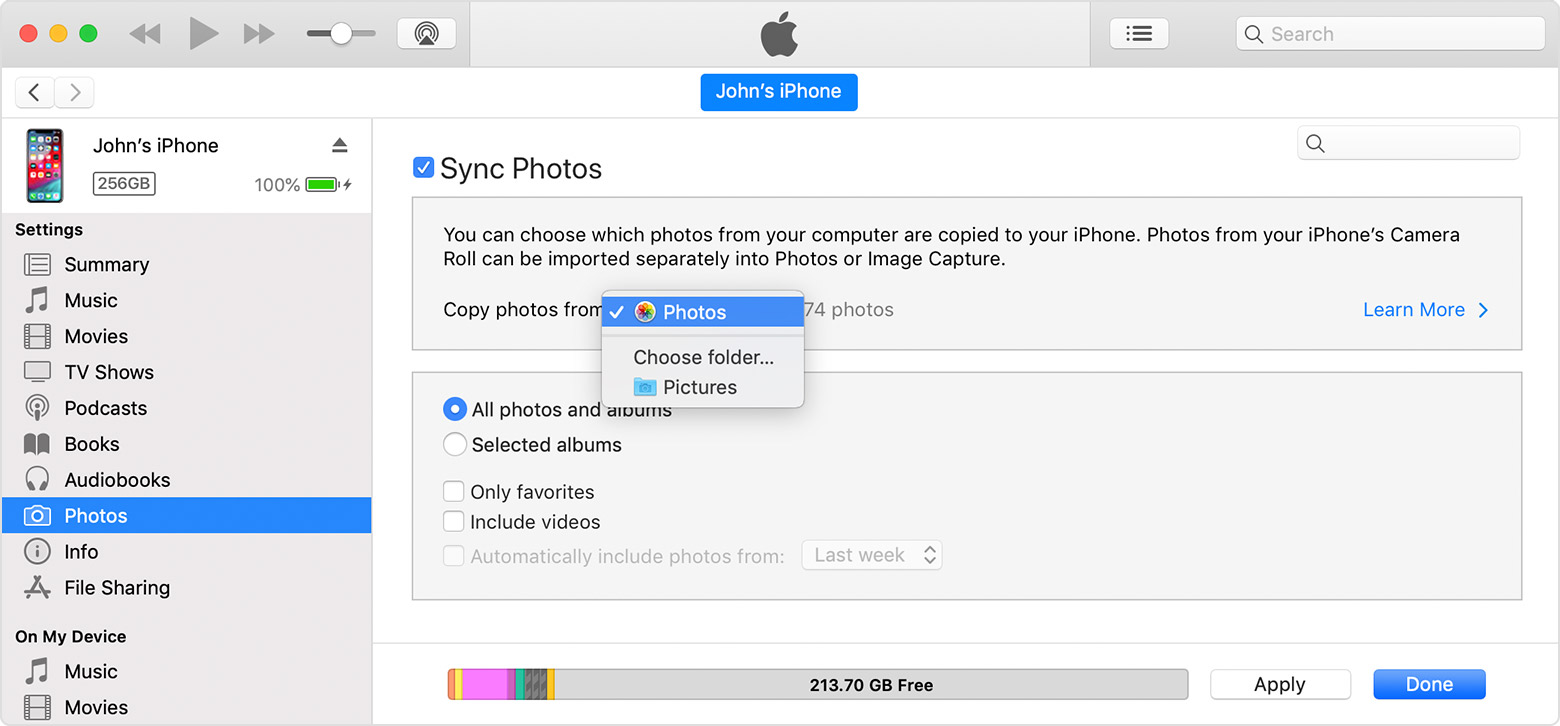
- Choose the app or folder that you want to sync from. If you choose to sync a folder with sub-folders, the first level of sub-folders will appear as albums on your device.
- Choose to sync all photos and albums or selected albums.
- Select "Include videos" to sync the videos from your app or folder too.
- Click Apply.
You must import Slo-Mo and Time-Lapse videos through the Photos app or Image Capture in OS X Yosemite or later for their effect to be synced via iTunes. When you use iCloud Photos, Slo-Mo and Time-Lapse videos keep their effects.
Live Photos keep their effect when you import them to Photos in OS X El Capitan and later, but they lose their effect if you sync them back to your device via iTunes. Use iCloud Photos so that Live Photos keep their effect, no matter what device you use.
If you're syncing from Photos, only your System Photo Library is available in iTunes.
Turn off iTunes syncing
If you don't want the synced photos on your iPhone, iPad, or iPod touch anymore, turn off syncing in iTunes and they'll be removed from your device. You can turn off syncing for some of your photo albums or all of them at once.
Stop syncing some albums
- Open iTunes on your computer and connect your iPhone, iPad, or iPod touch.
- Click on the device icon in iTunes.
- Click Photos.
- Choose "Selected albums" and deselect the albums or collections that you want to stop syncing.
- Click Apply.
Stop syncing all photos
- Open iTunes on your computer and connect your iPhone, iPad, or iPod touch.
- Click on the device icon in iTunes.
- Click Photos.
- Deselect "Sync Photos" then click "Remove photos."
- Click Apply.


Comments
Post a Comment